
Let the light in
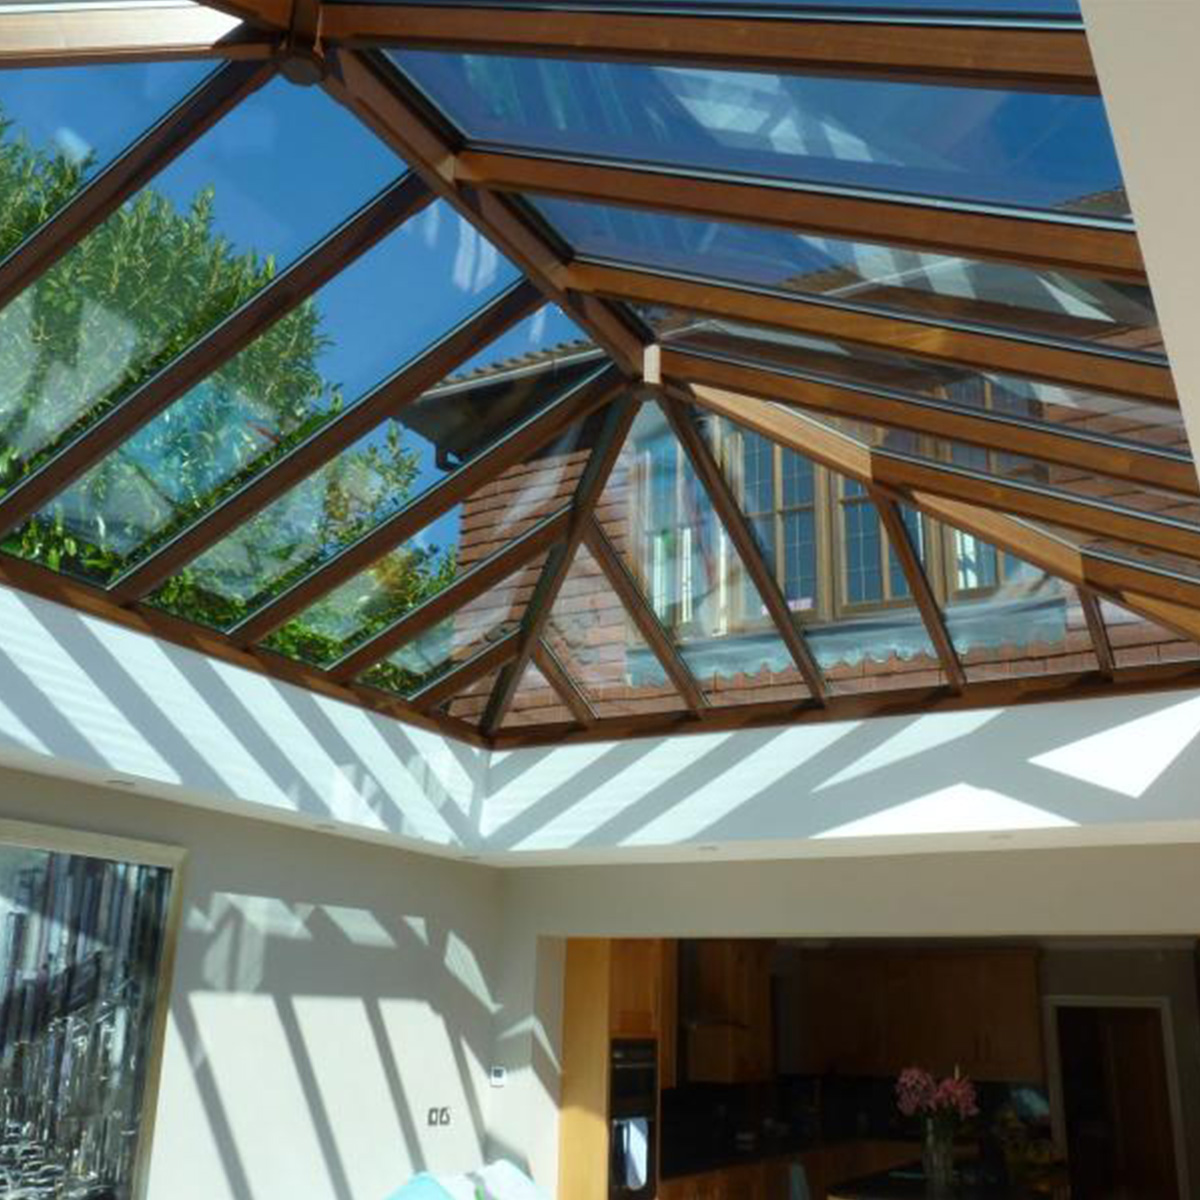
Natural light is always preferable to artificial light, but sometimes the traditional windows on an outer wall simply aren’t enough. When you’re in a room that is under the eaves, the windows are often smaller. That’s where skylights really come into their own.
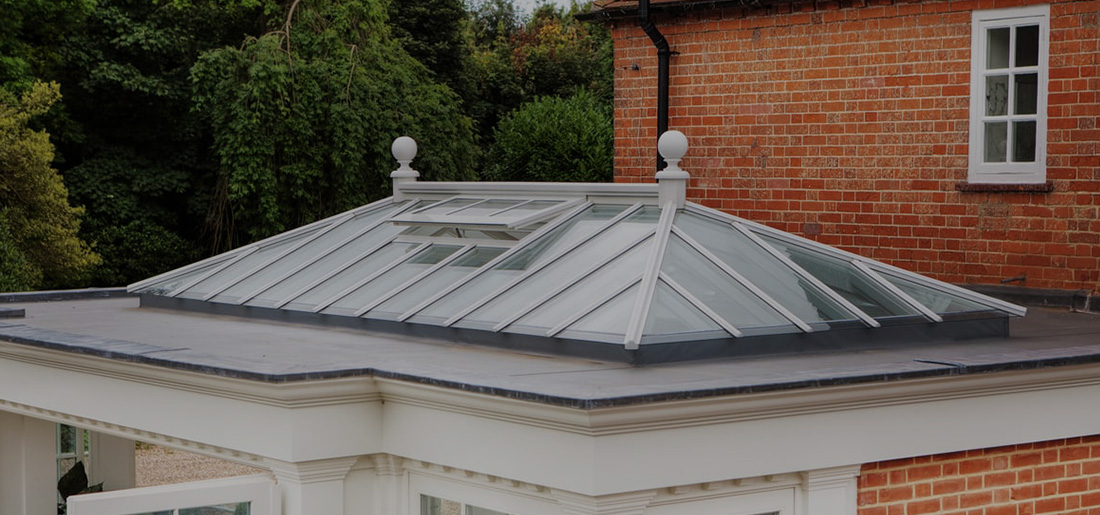
If you want to let light into an area with a flat roof, a roof lantern allows you to capture the maximum light to brighten your living space.
A bespoke wooden-framed, double-glazed rooflight means you can have the window as big (or small) as you need. Every window is handmade to measure and fitted to ensure your space is sealed to retain the heat, while letting the light in to make the space somewhere it’s a pleasure to be.

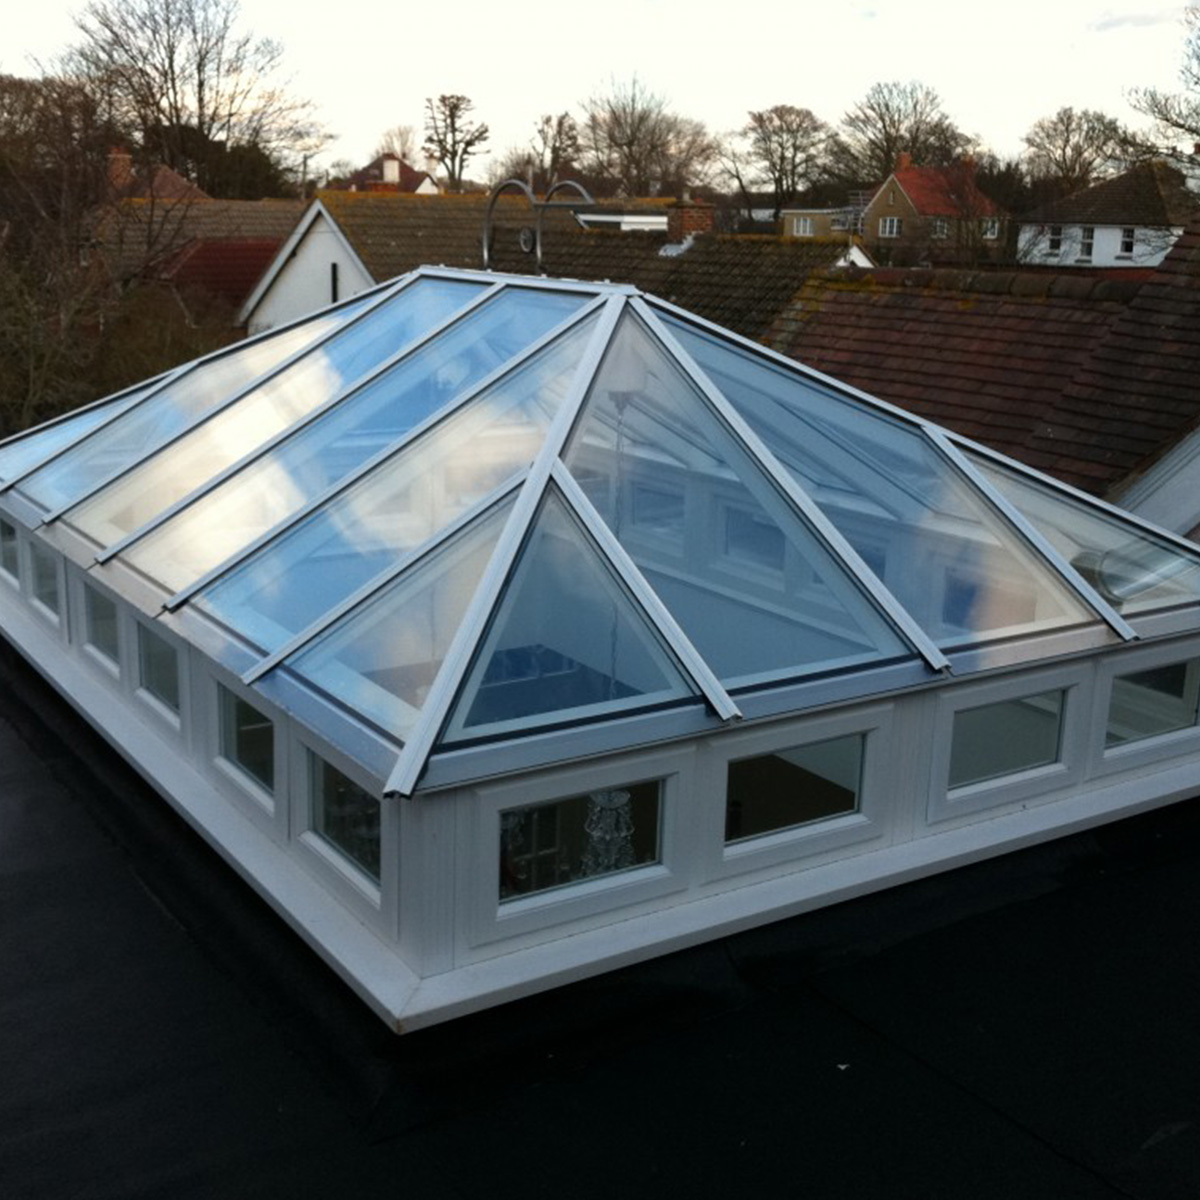
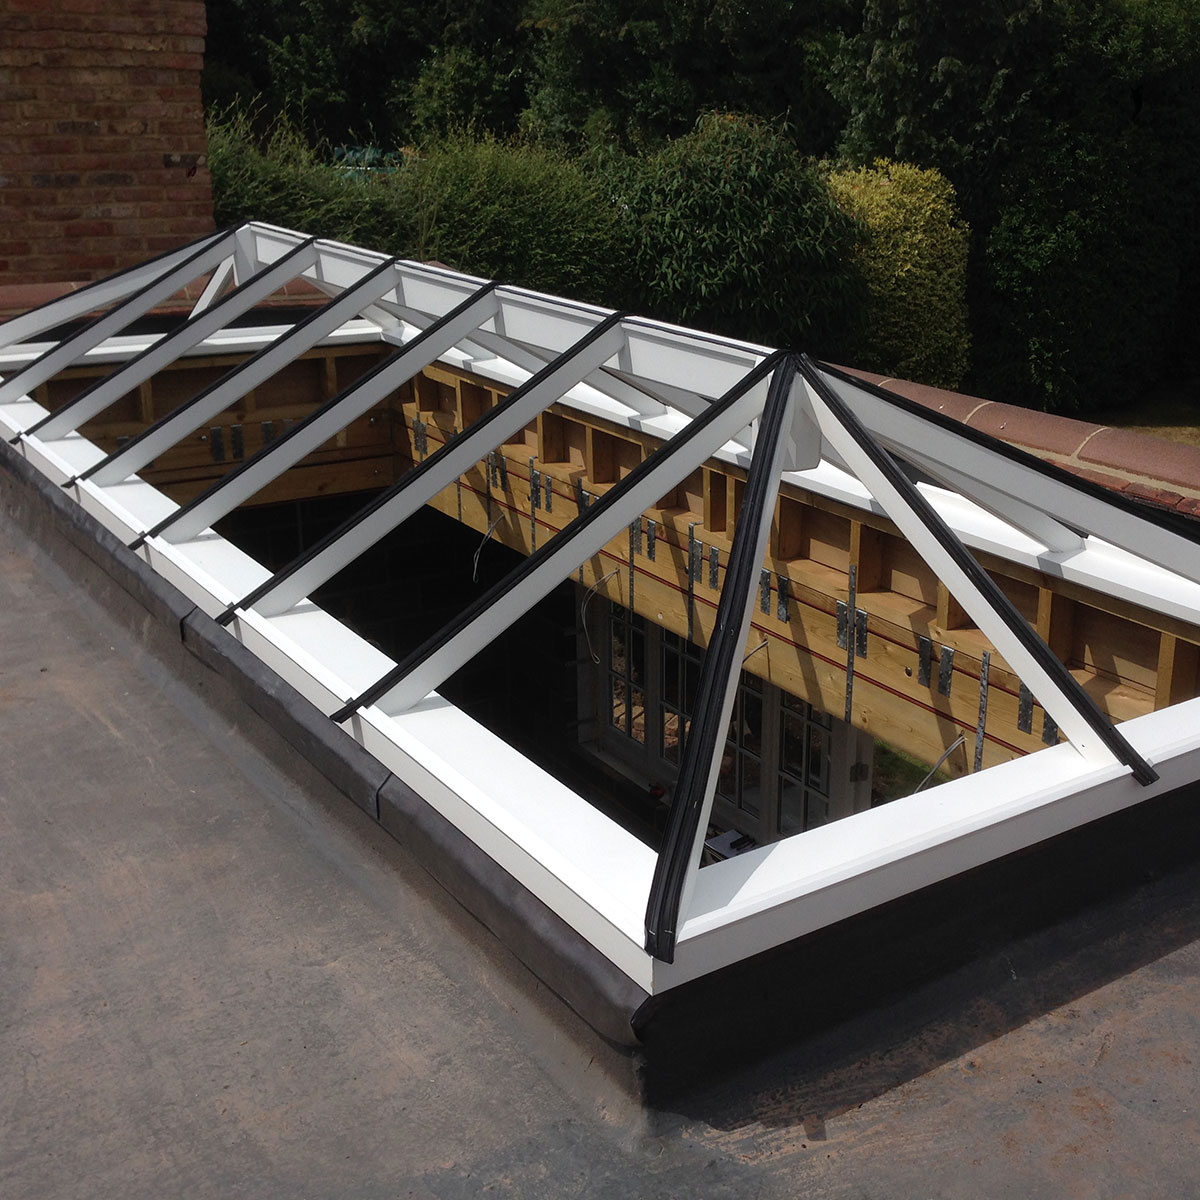
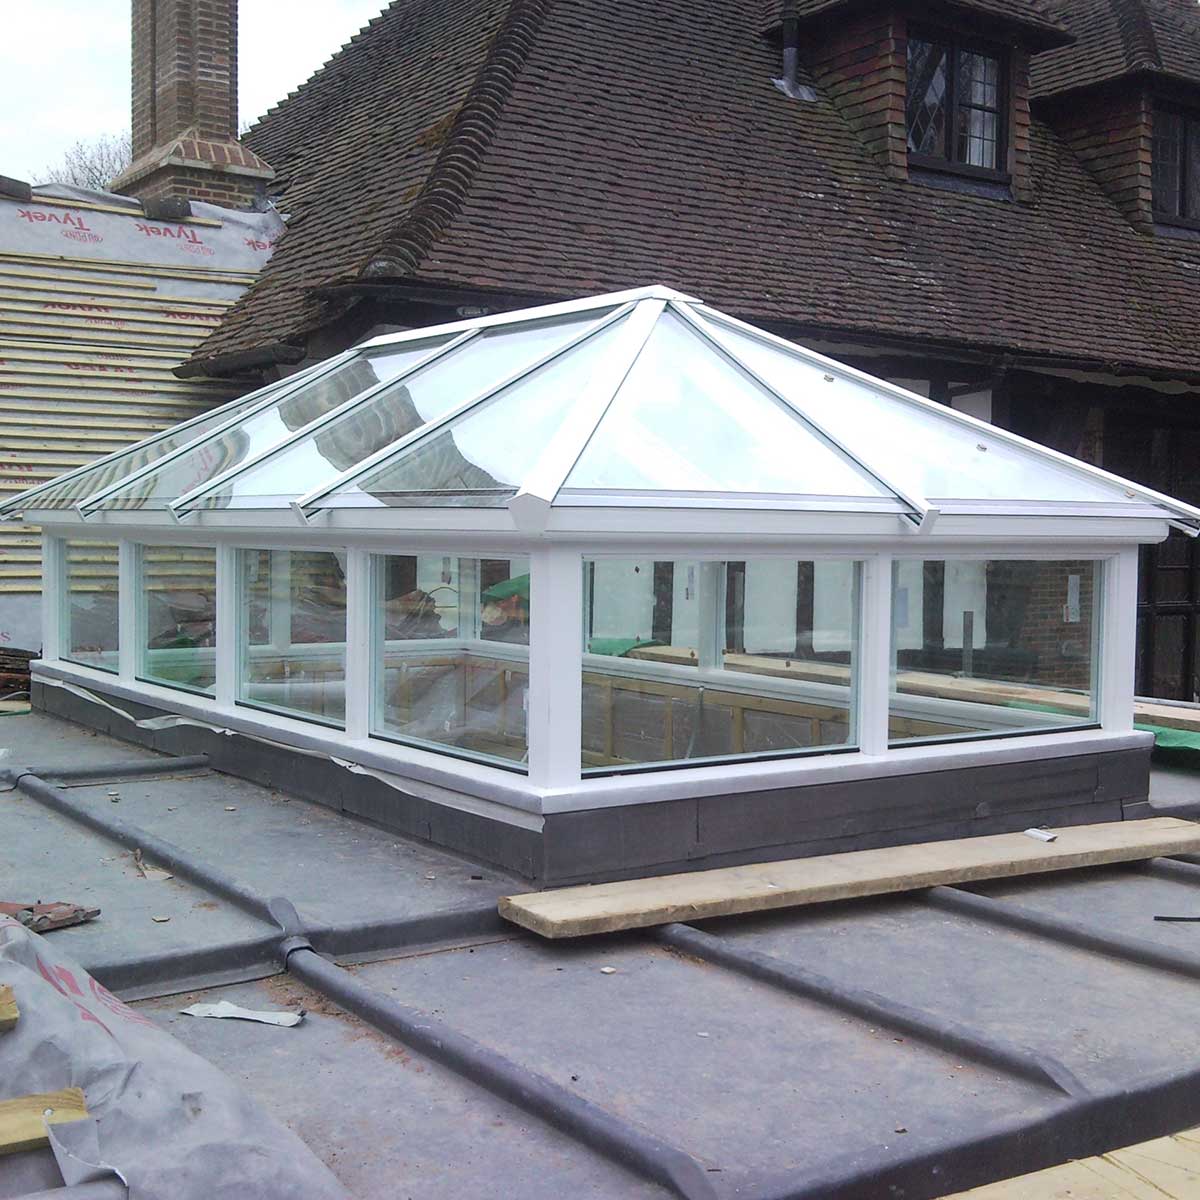
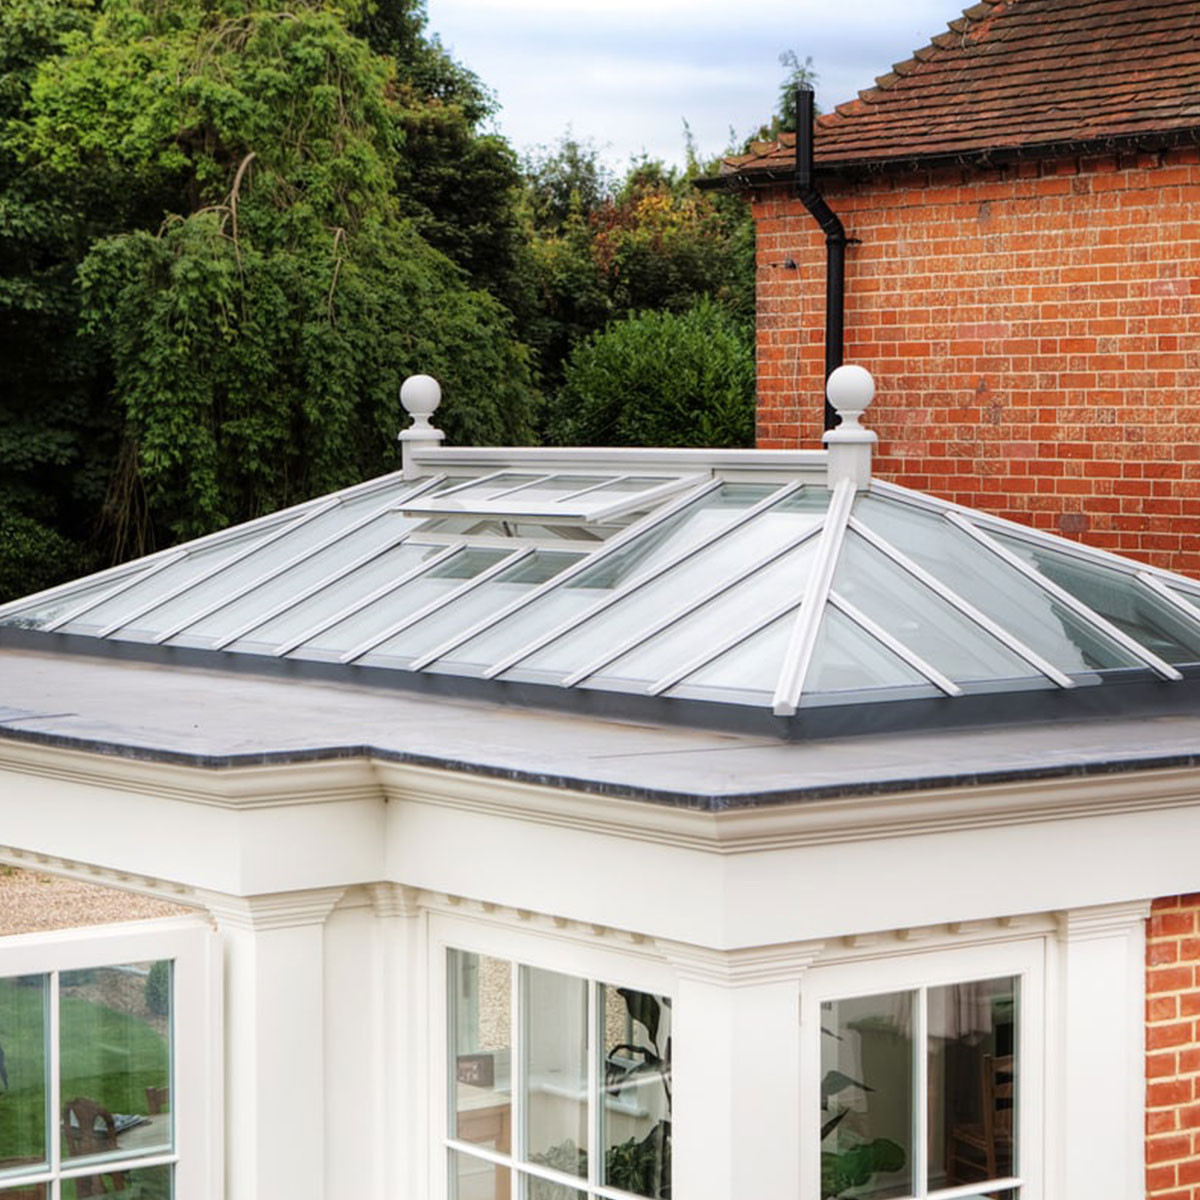
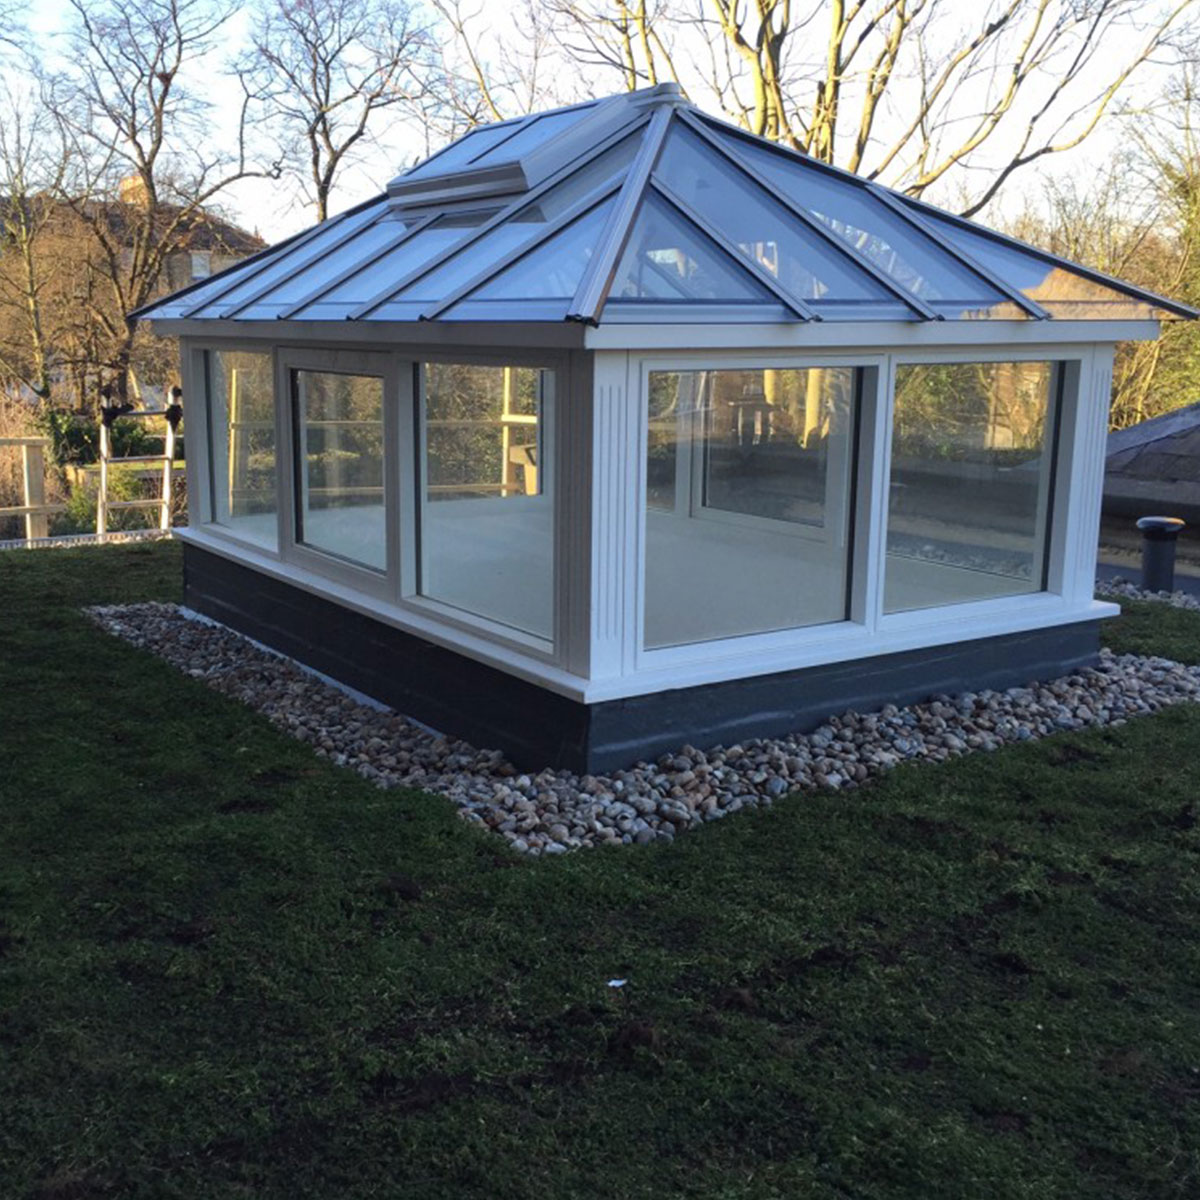
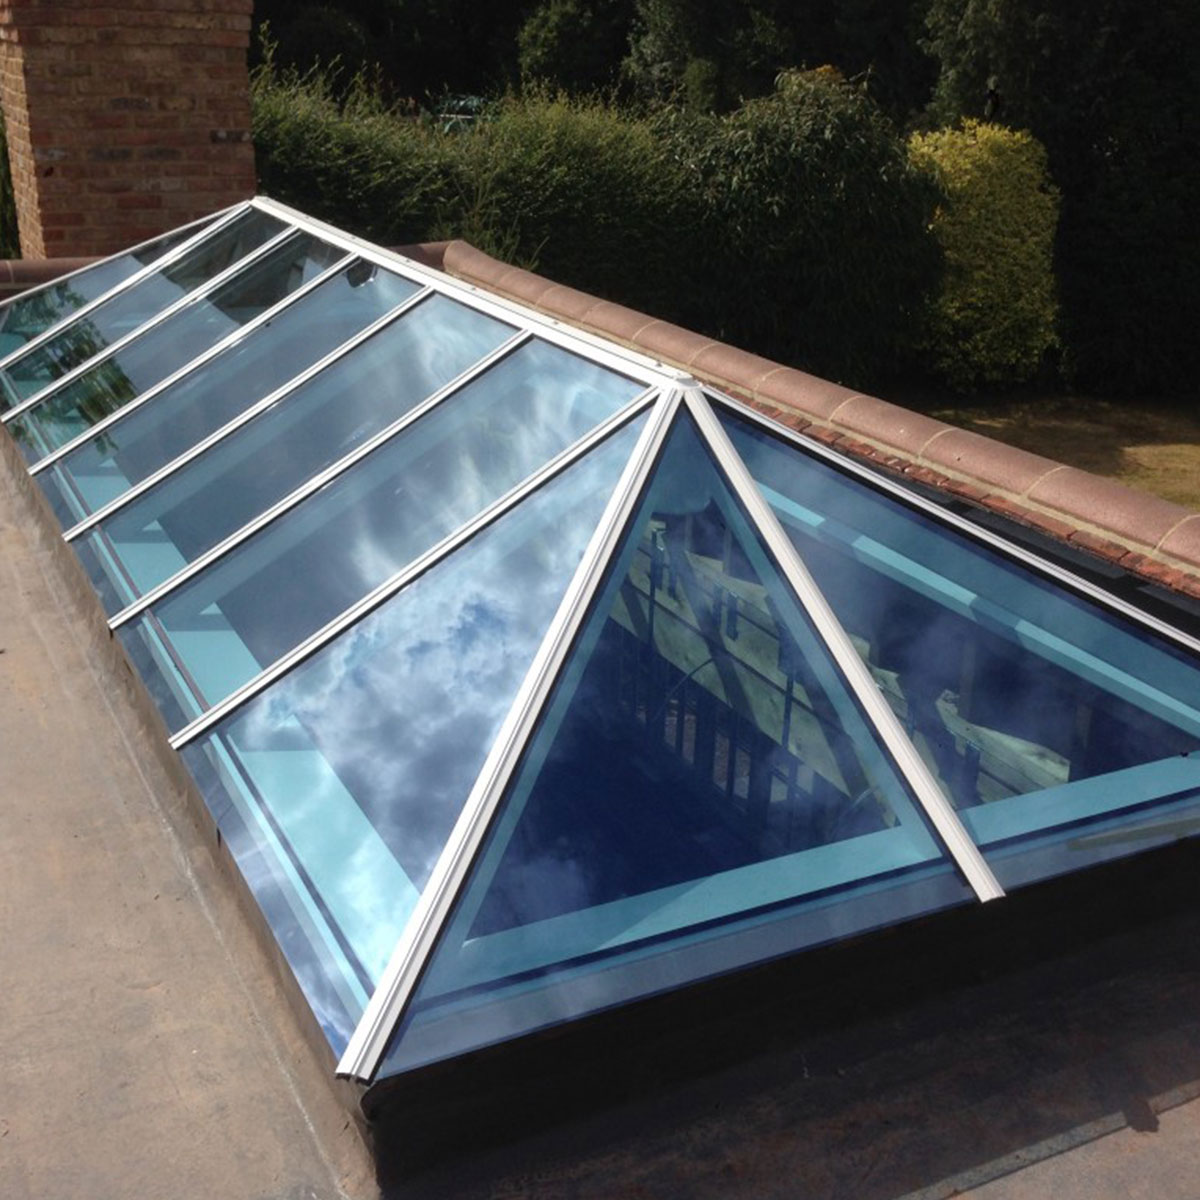
Here are some projects that
we take real pride in
Found what you are looking for?
Get in touch today for a free quotation.
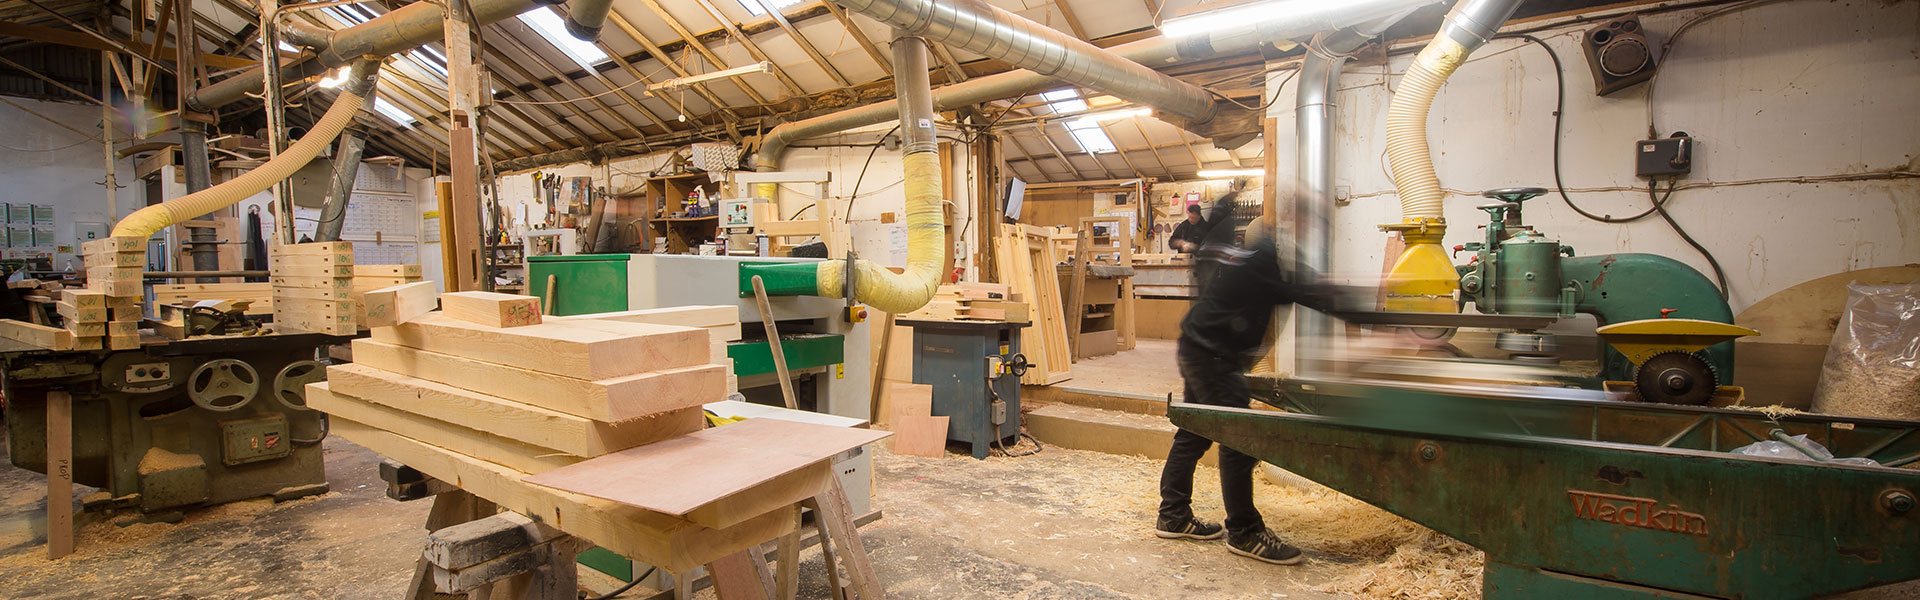
How We Make
Our Windows
Planning
Phase one
Forming a flat and straight face and edge onto the sawn timbers.
Thicknessing
Phase two
Bringing timbers to correct width and thickness.
Setting out
Phase three
Marking the positions of any mortice and tenon joints.
Morticing
Phase four
Creation a hole cut out to form part of the mortice and tenon joint.
Tenoning
Phase five
Forming scribed shoulders to fit over the moulding and a tenon to fit into the mortice.
Spindle moulding
Phase six
Creating the glass rebate and required moulding along all lengths of the timbers.
Hornch
Phase seven
The final part of the mortice and tenon joint is the hornch which will give more strength to the joint.
Assembly
Phase eight
Glue and cramps are applied to hold the casement tight, flat and square while wedges are hammered into position to lock the joint in place.
Shooting in
Phase nine
At this stage we shoot in the casements to fit there frames and cut out for required locks and hinges.
Sanding
Phase ten
We prepare the casements by doing any fine filling that is required followed by sanding with 80 and then 120 pads, and we finish by knocking off all edges using nibbing pads. Lastly we apply an end grain sealant to all end grain that is showing.
Painting
Phase eleven
4 coats are applied with a fine fill and de-nib between each coat.
Glazing
Phase twelve
Double glazed units are installed into the casement rebates and are beaded in place. At this point we apply any Georgian bar detail followed by a silicone seal all round the glass.
Fitting up
Phase thirteen
We re-fit all the hinges and locks and hang up the casements to check they are in good working order. After this we apply the rubber gaskets to ensure a good weather seal.
Quality control
Phase fourteen
After all the work is complete we have a team that inspects and checks the operation and finish of the window and only once they are satisfied is the window ok to leave the factory.